
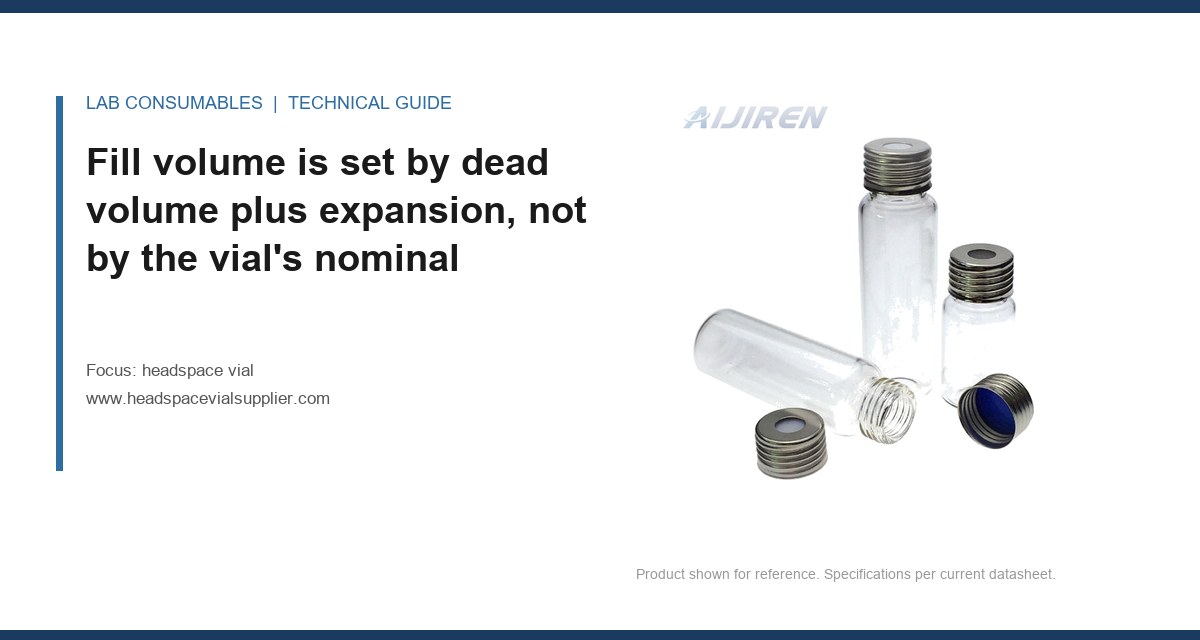
A 20 mL headspace vial filled with 15 mL of sample leaves 5 mL of headspace and a working volume that looks fine on paper, but after 60 injections through a single 23-gauge needle the septum shows a visible ring of coring debris, and the run at injection 61 on the same vial produced a toluene area count 8% below the mean of the first ten. That is not a chromatography problem. It is a vial sizing problem, and it shows up as a capacity and puncture-life question long before it shows up as a peak shape question. Sizing a headspace vial for real sample volume and injection count is arithmetic, and most labs never do it.
I have sized these vials for methods running 3 injections per vial and methods running 120, and the two cases need different vials, different septa, and different fill targets. This article is the arithmetic. It covers fill volume against dead volume, needle gauge against puncture life, and how to work backward from an injection count to a vial and septum specification you can actually buy.
Fill volume is set by dead volume plus expansion, not by the vial’s nominal capacity
A 20 mL headspace vial is a 20 mL vial only in the sense that it holds roughly 20 mL when filled to the neck. The usable liquid volume is a different number, and the usable headspace is a third number. Get these confused and you will either starve the headspace of analyte or push liquid into the transfer line.
The working rule for a standard 20 mL vial (23 x 75 mm, 20 mm crimp or screw finish, GPI 20-400 thread for the screw version) is a liquid fill between 5 mL and 15 mL. Below 5 mL you have too little sample to reach a stable partition equilibrium in a reasonable incubation time. Above 15 mL you have too little headspace for the pressure pulse to be absorbed without forcing liquid into the needle.
That 5 mL of remaining headspace is not empty space. It is the phase your analyte partitions into, and it carries the thermal expansion of the liquid. For an aqueous sample heated from 25 °C to 80 °C, water expands about 2.6% by volume. On a 15 mL fill that is roughly 0.4 mL of expansion, which eats into the headspace. On a 17 mL fill the expansion is 0.45 mL and the remaining headspace is too thin to buffer the autosampler’s pressure pulse. This is why the 15 mL ceiling exists.
Dead volume in the vial is the volume below the needle tip
If your autosampler needle stops 2 mm above the bottom of the vial, you have a dead volume of roughly 0.7 mL in a 20 mm ID vial that the needle never reaches. That dead volume is sample you paid to prepare and never sampled. For a method with a 10 mL fill, the effective sampled volume is closer to 9.3 mL. The fix is either a shorter needle standoff (most autosamplers let you set it) or a larger fill. I set the needle to 1 mm standoff and accept the slightly higher risk of needle contact with the bottom, because 0.7 mL of dead volume on a 10 mL fill is a 7% loss of sample, and 7% is enough to move a borderline detection limit.
For a 10 mL vial (the smaller format, 23 x 46 mm), the fill window shrinks to roughly 2 to 6 mL. Use these only when sample is scarce. The headspace-to-liquid ratio is less favorable and the pressure pulse is harder to absorb.
Injection count sets the septum, and the septum sets the needle gauge
This is the part most labs skip. A septum is rated for a puncture count, and that count depends on the needle gauge. A 20 mm silicone/PTFE septum rated for 100 punctures at 23 gauge is rated for roughly 50 at 21 gauge and roughly 200 at 25 gauge. The needle diameter matters because a larger bore tears a larger hole, and the hole is what fails.
The failure mode is coring: the needle punches a plug of silicone out of the septum, and that plug either falls into the vial or lodges in the needle. A cored septum shows a ring of silicone fragments around the puncture site and, in the chromatogram, a sudden rise in siloxane peaks (m/z 73, 147, 207 by GC-MS) that were not there at injection 1. If you see siloxane rising across a run, the septum is the cause, not the column.
Puncture-life arithmetic
Work it out before you buy. Take the septum’s rated puncture count at your needle gauge, divide by the injections per vial, and you get the number of vials one septum can serve. If you run 3 injections per vial on a septum rated for 100 punctures, one septum serves about 33 vials. If you run 1 injection per vial, it serves 100. The septum is the consumable that fails first, and it fails at a predictable count.
But the rating is measured under controlled conditions: a clean needle, a perpendicular puncture, a septum held at a fixed compression. Real autosamplers vary the puncture angle by a degree or two, and a dull needle (after 500 to 1000 punctures) tears rather than pierces. I derate the manufacturer’s rating by 30% for routine use. A 100-puncture septum gets treated as 70.
| Needle gauge | Nominal OD (mm) | Septum rating, silicone/PTFE (punctures) | Derated for routine use (70%) | Vials served at 3 injections/vial |
|---|---|---|---|---|
| 25 | 0.51 | 200 | 140 | ~46 |
| 23 | 0.64 | 100 | 70 | ~23 |
| 21 | 0.81 | 50 | 35 | ~11 |
| 20 | 0.91 | 30 | 21 | ~7 |
These numbers are for a standard 3 mm thick silicone/PTFE sandwich septum on a 20 mm crimp vial. A thinner septum (2 mm) roughly halves the count. A septum with a PTFE face on the sample side adds chemical resistance but does not add punctures; the silicone layer is what carries the count.
Why a 21-gauge needle on a 20 mL vial is a bad combination for high-count runs
If your method uses a 21-gauge needle (some older autosamplers do) and you inject 3 times per vial, you get about 11 vials per septum. That means one septum per 11 vials, which is a septum change every 33 injections. No one changes a septum that often in a production lab. The septum gets run to 60 or 80 punctures, coring starts, and the siloxane peaks appear. The fix is either a 23-gauge needle (doubles the count) or a septum rated for higher puncture counts, or a change to a 25-gauge needle if the method allows it. The 25-gauge needle has a smaller bore, which slows the transfer and can affect peak shape on early-eluting compounds, so test it before you commit.
Matching vial size to injection count: the decision table
Here is how I size a vial for a given injection count. The table assumes a 20 mL vial, a 23-gauge needle, and a silicone/PTFE septum. It is a starting point; adjust for your sample matrix and your autosampler.
| Injections per vial | Recommended fill (mL) | Headspace (mL) | Septum spec | Vials per septum (derated) | Notes |
|---|---|---|---|---|---|
| 1 | 10-15 | 5-10 | Standard silicone/PTFE, 3 mm | 70 | Simplest case; septum rarely the limit |
| 3 | 10-12 | 8-10 | Standard silicone/PTFE, 3 mm | 23 | Most common routine case |
| 6 | 8-10 | 10-12 | High-puncture silicone/PTFE, 3 mm | 11-12 | Septum change every 2 vials; plan for it |
| 10+ | 5-8 | 12-15 | High-puncture, 25-gauge needle | 14 (at 25 g) | Only with a needle gauge change |
The 6-injection case is where labs get into trouble. Six injections per vial on a standard septum means a septum change every two vials, and most labs do not do that. If your method calls for 6 injections per vial, either buy a high-puncture septum and change it on schedule, or accept that the last two injections on each vial are running on a cored septum. I have seen the second option produce a 5 to 10% area RSD across a batch that looked like instrument drift and was actually septum failure. If the method requires 6 injections, budget for the septum change.
Two field cases where the arithmetic caught the problem
Case 1: the 8% drop at injection 61
Symptom: a residual solvent method running 3 injections per vial on 20 mL vials with 12 mL fill and a 23-gauge needle. The toluene area count dropped 8% between injection 10 and injection 61, and the drop repeated across three batches. The lab suspected the column.
Measurement: I pulled the septum from the autosampler after the run and counted punctures. It had 61. The septum was a standard 3 mm silicone/PTFE rated for 100 punctures at 23 gauge, so 61 was within rating, but the derated count is 70, and the drop started around 50. The siloxane check (m/z 73) showed a rising baseline from injection 45 onward.
Fix: the lab was running 3 injections per vial but changing the septum only when it visibly failed. We set a septum change every 20 vials (60 punctures) and the drop disappeared. The cost was one extra septum per 20 vials, which is trivial against a repeat batch.
Case 2: the 21-gauge needle and the 11-vial septum
Symptom: a production lab running 1 injection per vial on a 21-gauge needle, 200 vials per shift. They were changing the septum once per shift (200 punctures) on a septum rated for 50 at 21 gauge.
Measurement: I asked them to run a coring check. They pulled 10 septa at end of shift and found silicone fragments on 7 of them. The chromatograms showed intermittent siloxane spikes that they had been attributing to column bleed.
Fix: two changes. First, switch to a 23-gauge needle, which doubled the rated count to 100 and the derated count to 70. Second, change the septum every 60 vials. The siloxane spikes stopped. The lesson is that the needle gauge sets the puncture life, and a 21-gauge needle on a 200-puncture shift is a coring machine.
Pressure pulse and fill volume: the number that decides whether liquid reaches the needle
When the autosampler pressurizes the vial to drive the headspace into the loop, the pressure pulse is typically 5 to 15 psi above the vial’s equilibrium pressure. That pulse compresses the headspace and pushes the liquid surface up. If the fill is too high, the liquid reaches the needle and you get liquid in the transfer line, which shows up as a huge area count on the next injection and a contaminated loop.
The margin is the headspace volume. A 15 mL fill in a 20 mL vial leaves 5 mL of headspace, and a 10 psi pulse on 5 mL of headspace at 80 °C compresses it by roughly 0.3 mL. That is a 6% rise in liquid level, which on a 20 mm ID vial is about 1 mm. If your needle standoff is 2 mm, you have 1 mm of margin. If your fill is 17 mL, the headspace is 3 mL, the compression is 0.5 mL, the rise is 3 mm, and the liquid hits the needle. This is why 15 mL is the ceiling.
If you need a larger sample volume for sensitivity, do not increase the fill. Increase the incubation temperature or the incubation time, or switch to a larger vial. A 22 mL vial (23 x 75 mm, but with a taller body) gives you 2 mL more headspace at the same fill, which buys you margin. The trade-off is that 22 mL vials are less common and cost more per unit.
What to specify on the purchase order
If you take nothing else from this article, put these six numbers on the PO. They are the ones that determine whether the vial and septum survive your injection count.
- Vial volume and dimensions: 20 mL, 23 x 75 mm, with the correct finish (20 mm crimp or GPI 20-400 screw).
- Fill volume: the target and the tolerance (for example, 12 mL ± 0.5 mL).
- Septum thickness and construction: 3 mm silicone/PTFE, with the PTFE face on the sample side.
- Puncture rating at your needle gauge: state the gauge, because the rating is gauge-dependent.
- Crimp torque or screw torque: for crimp vials, a crimp height of 5.5 mm ± 0.2 mm; for screw vials, hand-tight plus a quarter turn, which is roughly 1.5 to 2 N·m.
- Change interval: the number of vials per septum, which is the derated puncture count divided by injections per vial.
For the vial itself, the headspace vial specification should include the dimensional stack (neck OD, body OD, height) because the autosampler grips the vial by those dimensions and a 0.3 mm variation in neck OD changes the crimp compression. For the septum, the puncture rating is the number that matters, and it is the number most catalogs bury.
If you also run liquid injections, the HPLC autosampler vial has its own capacity and septum rules, and they are different because the injection is at atmospheric pressure, not under a pressure pulse. Do not assume the same septum works for both. And if your headspace method shares a sample prep bench with a GC vial, keep the two vial types physically separated so a 2 mL vial does not end up in the headspace autosampler tray.
Troubleshooting checklist for a vial that is undersized for its injection count
Run this list when area counts drift, RSD climbs, or siloxane peaks appear mid-run. Each item is a measurement, not a guess.
- Count the punctures on the septum at end of run. If it exceeds the derated rating for your needle gauge, the septum is the cause.
- Check for coring. Look for silicone fragments on the septum face or in the vial. A cored septum is a failed septum.
- Run a siloxane check. Inject a blank vial and look at m/z 73, 147, 207. A rising baseline across a batch is septum extractables.
- Measure the fill volume on 10 vials. If the fill exceeds 15 mL, the headspace is too thin and the pressure pulse is pushing liquid to the needle.
- Check the needle standoff. If it is more than 2 mm, you are losing sample to dead volume; if it is less than 1 mm, you risk needle contact.
- Verify the needle gauge against the septum rating. A 21-gauge needle on a 100-puncture septum is a 50-puncture septum in practice.
- Check the crimp or screw torque. An under-crimped vial leaks and a over-crimped vial cracks the neck; both show up as area drift.
For method-level context on how the vial fits the run, the U.S. EPA SW-846 test methods set the sample handling requirements for waste and materials, and the Restek technical resources and Agilent GC consumables pages carry the septum and needle specifications that the ratings come from. Thermo Fisher’s chromatography and sample handling documentation covers the autosampler pressure settings that set your pressure pulse. If you are also stocking the wet bench, a reagent bottle with a compatible closure keeps the sample prep side consistent with the vial side.
The decision rule is this: size the vial by the fill volume that leaves at least 5 mL of headspace at your incubation temperature, then size the septum by the derated puncture count at your needle gauge, then set the change interval as that count divided by injections per vial. If the resulting interval is shorter than your batch, either move to a smaller needle gauge or a higher-puncture septum, or reduce injections per vial. Do the arithmetic before the run, not after the RSD climbs.
References & further reading
Related resources from our lab consumables network:
- Headspace Vial at headspacevialsupplier.com
- Gc Vial at gcvialfactory.com
- Reagent Bottle at reagentbottleforsale.com
- Hplc Autosampler Vial at hplcautosamplervials.com
External references and standards: