
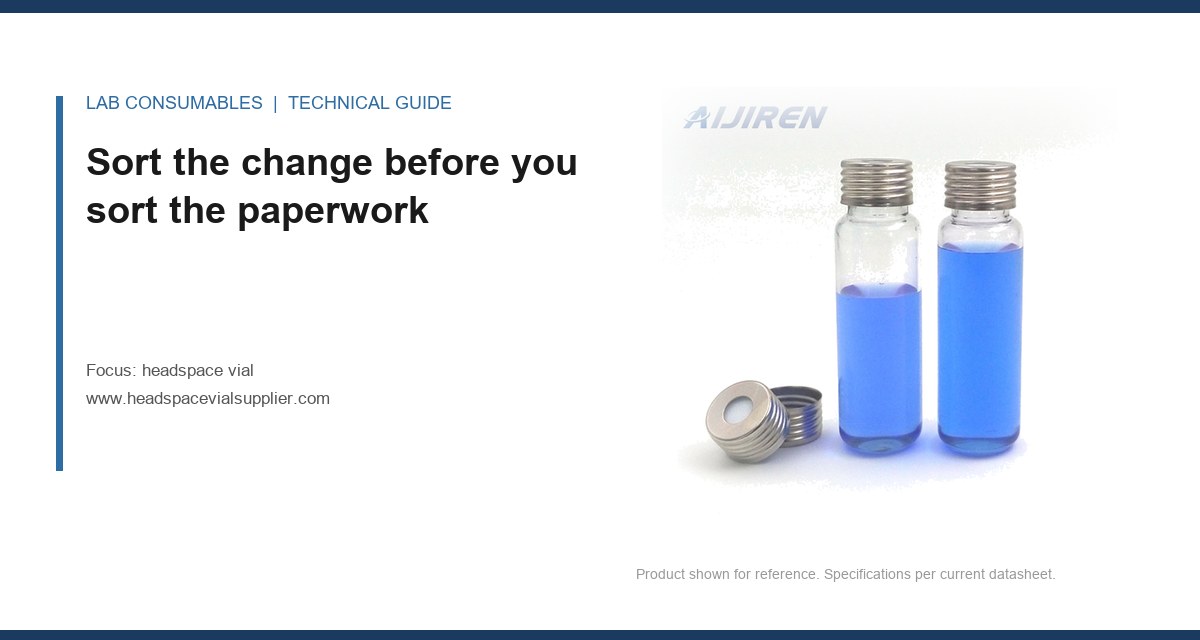
A 20 mL headspace vial lot change once cost me three weeks. Same catalog number, same drawing revision, same supplier. The only visible difference was a septum that arrived 0.15 mm thinner, and the result was a system suitability RSD of 4.8% on a 50 ppb ethanol standard against a method limit of 2.0%. That run failed, the batch was held, and the question the QA auditor asked was not “why did it fail” but “what in your change control allowed the vial to be substituted without a documented assessment?” That question is what this article answers: which supplier and lot changes force revalidation, which only need verification, and how to write the entry so the next inspector reads it and moves on.
The revalidation triggers when a headspace vial supplier or lot changes are narrower than most labs assume and broader than most suppliers admit. The vial is part of the analytical method, but not every physical difference reaches the chromatogram. The work is separating the two.
Every vial change falls into one of three bins. Get the bin wrong and you either over-validate (expensive, slow, and it trains people to skip the assessment) or under-validate (a 483 waiting to happen). I use a simple sort based on what the change touches: the material in contact with the sample, the geometry that meets the autosampler, or the closure that holds pressure.
| Change | Bin | Minimum evidence | Typical effort |
|---|---|---|---|
| New lot, same supplier, same drawing | Verification | Incoming dimensional check + one system suitability run | 1 shift |
| New supplier, same material and drawing | Verification (full) | Dimensional + extractables screen + 3 replicate SST runs | 2-3 days |
| Septum material change (silicone to butyl, or coating added) | Revalidation | Full method revalidation, extractables profile, carryover | 2-4 weeks |
| Glass conversion (Type I to Type II, or hydrolytic class change) | Revalidation | Full revalidation + extractables + pH stability check | 3-5 weeks |
| Crimp dimension change (neck OD, bead position) | Revalidation (targeted) | Seal integrity, pressure retention, SST | 1-2 weeks |
| Septum thickness change > 0.10 mm | Revalidation (targeted) | Seal integrity + SST + puncture count verification | 1 week |
| Vial height change > 0.20 mm | Verification | Tray fit + needle alignment + SST | 1 shift |
| Label, packaging, carton only | No action | Document only | 30 minutes |
The thresholds matter. A septum thickness shift under 0.10 mm usually stays inside the crimp take-up and does not change seal compression enough to move a result. Above that, the compression force at a fixed crimp setting changes, and pressure retention during the headspace equilibration step starts to drift. I have seen a 0.20 mm thinner septum produce a 1.5% loss in peak area on a 10 mL headspace injection because the vial could not hold the 1.2 bar the method assumed.
Which changes force revalidation and which only need verification
The distinction is whether the change can alter the analytical result. Verification confirms the new material behaves like the old one on the parameters you already validated. Revalidation re-establishes that the method still meets its acceptance criteria with the new component in place.
Forces full revalidation
- Septum elastomer change. Silicone to butyl, or adding a PTFE facing where there was none, changes the extractables profile. Ghost peaks from a septum are the classic failure, and they show up at the retention time of your analyte or worse, co-elute. You need the full panel: blank runs, extractables at the method’s equilibration temperature, and carryover on a high-concentration sample followed by a blank.
- Glass hydrolytic class change. Type I borosilicate to Type II treated soda-lime changes the surface chemistry and the sodium leach profile. For a pH-sensitive analyte, that is a method change, not a supplier change.
- Any change to the closure that alters the seal geometry. A different crimp bead position, a different seal liner, a different cap skirt height. The autosampler crimps to a fixed force and the seal has to hold it. If the geometry moves, the seal is a new variable.
- Septum thickness change above 0.10 mm, or durometer change above 5 Shore A. Both change compression at the fixed crimp setting.
Needs verification only
- Lot-to-lot change from the same supplier, same drawing, same material. This is the most common event and the one most often over-documented. A dimensional check against the drawing plus one system suitability run is proportionate. The headspace vial drawing should carry the critical dimensions: neck OD, bead position, height, and septum thickness with tolerance.
- New supplier, same material and drawing. Slightly more work because you have not seen their process capability, but still verification. Add an extractables screen at the method temperature and three replicate SST runs.
- Vial height change within 0.20 mm. Tray fit and needle alignment are the only real risks, and both are mechanical. Confirm on the autosampler, not on a drawing.
The trap is treating a new supplier as a lot change. A new supplier has a different furnace, a different annealing profile, and a different septum molding press. The drawing is the same; the process is not. Give it the full verification, not the 30-minute version.
The septum is where most revalidation decisions are actually made
If you only assess one component when a vial changes, assess the septum. The glass is well controlled by the drawing and the hydrolytic class test (ISO 719 or ISO 720 for the glass, USP <660> for the container). The septum is a molded elastomer with a formulation, a cure, and a facing, and every one of those can move without a drawing change.
The parameters that matter for headspace:
- Thickness, typically 3.0 mm for a 20 mm crimp septum, tolerance ±0.10 mm. Below that, seal compression at a standard crimp drops and pressure retention suffers.
- Durometer, typically 45 to 55 Shore A for silicone. Softer septa seal at lower crimp force but core more easily. Harder septa resist coring but need more crimp.
- PTFE facing thickness, typically 0.05 to 0.13 mm. The facing is the barrier. A thinner facing is a shorter path for extractables.
- Puncture count. A 20 mm silicone/PTFE septum should hold a seal for 3 to 5 punctures at 23 gauge. If a lot fails at 2, the needle is coring and the septum is the wrong durometer or the needle is dull.
When the septum changes, run a blank at the method’s equilibration temperature (often 80 to 120 °C for headspace GC) and look for peaks above the method’s reporting limit. If the blank is clean and the SST passes, you have verification evidence. If the blank shows new peaks, you have a revalidation trigger whether you wanted one or not. The GC vial and headspace vial share the same septum families, so a supplier change on one often signals a change on the other; check both.
How to write the change-control entry so an inspector accepts it
The entry has to answer four questions in order, and it has to answer them before the change is implemented, not after. I have seen otherwise solid validations rejected because the change-control record was written retrospectively.
- What changed, at the specification level. Not “new supplier.” Write the drawing number, the revision, the material specification, and the specific parameter that moved. “Septum thickness from 3.00 mm to 2.85 mm, drawing HV-20-04 rev C to rev D.” An inspector can audit that. “Supplier change” is not auditable.
- Why it is the bin you assigned. State the rationale: “Septum thickness change of 0.15 mm exceeds the 0.10 mm threshold in SOP QC-118, therefore targeted revalidation.” The SOP reference is what makes the decision defensible. If you do not have a threshold SOP, write one before the next supplier change.
- The evidence, with acceptance criteria stated before the run. SST RSD ≤ 2.0%, blank below reporting limit, seal integrity pass at 1.5 bar for 30 minutes. Pre-stated criteria are the difference between validation and a fishing expedition.
- The disposition and the effective date. “Released for use in method HS-07 effective 2024-03-11. Prior lot quarantined and returned.” Close the loop.
One more thing: attach the supplier’s certificate of analysis and your incoming inspection result side by side. If the CoA says 3.00 mm and your four-place balance or micrometer says 2.85 mm, that discrepancy is the finding, and it belongs in the record. The reagent bottle suppliers I work with have the same problem: the CoA is a lot average, not a per-unit measurement.
Two field cases where the bin was wrong
Case 1: the lot that passed dimensional and failed extractables
Symptom. A new lot of 20 mL vials, same supplier, passed incoming dimensional check. The first SST run showed a new peak at 4.2 minutes, area equivalent to 8 ppb toluene, on a method with a 5 ppb reporting limit. The analyte of interest eluted at 6.1 minutes, so it was not a direct interference, but it pushed the baseline and the integration drifted.
Measurement. A blank vial heated to the method’s 90 °C equilibration for 30 minutes, injected on the same method. The peak was present in the blank and absent in the retained reference lot. A septum swap from the new lot onto an old-lot vial reproduced the peak. The septum was the source, not the glass.
Fix. The supplier had changed the septum cure profile without a drawing change. We reclassified the event from verification to targeted revalidation, ran the extractables panel at 90 °C, and added a septum cure lot to the CoA requirement. The lesson: dimensional pass is not extractables pass, and a same-supplier lot change can still be a material change if the sub-component supplier moved.
Case 2: the thinner septum that lost pressure
Symptom. A method transferring from a 1.0 mL headspace injection to a 3.0 mL injection showed a 12% drop in peak area on the larger injection only. The smaller injection was fine. Recovery on a spiked standard was 88% against a 90 to 110% criterion.
Measurement. Seal integrity test: crimp at the standard 1.5 N·m setting, pressurize to 1.2 bar with helium, measure pressure decay over 30 minutes. The new lot lost 0.4 bar; the reference lot lost 0.05 bar. Micrometer on the septum: 2.82 mm versus 3.00 mm nominal. The thinner septum did not compress enough at the fixed crimp to hold the larger headspace volume’s pressure.
Fix. Rejected the lot, returned it, and added septum thickness to the incoming inspection with a ±0.10 mm tolerance and a seal integrity check at 1.2 bar. We also moved the crimp force to 1.8 N·m for the method to give more margin. The lesson: a 0.18 mm thickness change is invisible on a datasheet and decisive on a 3.0 mL injection.
A verification and revalidation checklist you can run in a shift
This is the sequence I use when a vial lot or supplier changes. It is ordered so the cheap checks fail fast before you spend a week on extractables.
- Drawing and CoA cross-check. Neck OD, bead position, height, septum thickness, septum durometer, facing thickness. Any parameter outside the drawing tolerance is a rejection, not a verification.
- Incoming dimensional check. Micrometer on 10 vials from the lot, septum thickness on 10, height on 10. Record the mean and range. Compare to the reference lot.
- Tray fit and needle alignment. Load a full tray and run a dry cycle. Any needle contact or tray fault is a stop.
- Seal integrity. Crimp at the method’s set force, pressurize to the method’s headspace pressure plus 20%, hold 30 minutes, measure decay. Accept if decay is under 10% of set pressure.
- Blank at method temperature. One vial, no sample, method equilibration time and temperature. Any peak above the reporting limit is a revalidation trigger.
- System suitability, three replicates. RSD ≤ 2.0% (or the method’s stated limit), recovery within 90 to 110%, carryover on a blank after a high standard below the reporting limit.
- Puncture count. Puncture one septum 5 times at the method’s needle gauge; check for coring and seal loss. A 20 mm silicone/PTFE septum should hold 3 to 5 punctures.
If every item passes, you have verification evidence and the change can be released. If the blank or the seal integrity fails, you have a revalidation trigger and the change goes on hold.
The decision rule
When a headspace vial supplier or lot changes, bin the change by what it touches: material in contact with the sample, geometry meeting the autosampler, or closure holding pressure. Material and closure changes force revalidation; geometry and same-drawing lot changes need verification. Write the change-control entry with the drawing revision, the specific parameter that moved, the threshold from your SOP, the pre-stated acceptance criteria, and the disposition, before the change goes live. If the septum thickness moved more than 0.10 mm, the septum elastomer changed, the glass hydrolytic class changed, or the crimp geometry changed, treat it as revalidation. Everything else is a verification you can finish in a shift. The Agilent GC accessories documentation and the Restek technical resources both publish septum and vial specifications that make the comparison concrete, and the Thermo Fisher sample handling guidance covers the autosampler side of the same stack. The EPA SW-846 framework treats the vial as part of the method, which is the principle the whole entry rests on. And if you run both headspace and liquid injections, keep the HPLC autosampler vial change control on the same SOP so the two do not drift apart.
References & further reading
Related resources from our lab consumables network:
- Headspace Vial at headspacevialsupplier.com
- Gc Vial at gcvialfactory.com
- Reagent Bottle at reagentbottleforsale.com
- Hplc Autosampler Vial at hplcautosamplervials.com
External references and standards: