
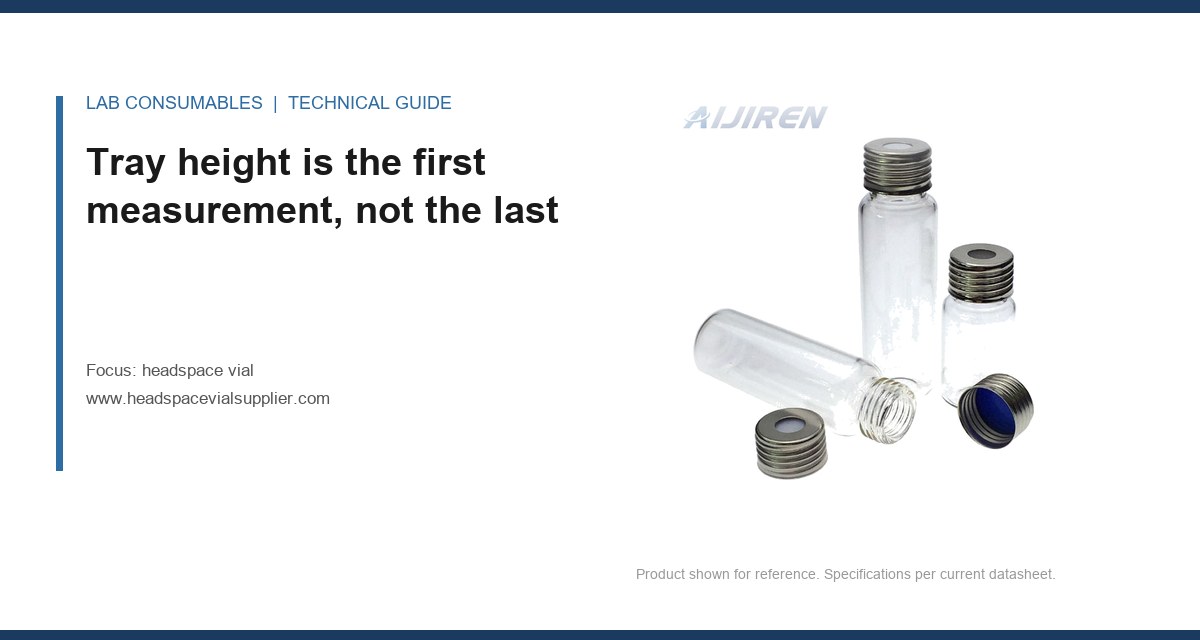
A 12-position tray on a CTC PAL was throwing “Error 044: Vial not found at expected position” on position 7, but only on Mondays, and only on the first run after the tray had been reloaded. The operator had been re-seating the vial. The actual fault was a tray that sat 1.8 mm high at the front right corner because a single M4 shoulder screw had backed out of its locating dowel. The autosampler pickup error and misalignment pattern looked like a vial problem for three weeks. It was a tray problem the whole time.
This is the most common failure mode I see in headspace installations, and it is the one most often misdiagnosed. The vial gets blamed because the vial is what the instrument reports on. But a headspace vial is a passive object. It cannot misalign itself. It can only be misaligned by something else: the tray it sits in, the gripper that picks it up, the cap that was seated on it, or the transport mechanism that carries it. Every pickup error traces back to one of those four. This article is about how to tell which one, with the specific error codes each produces on common instruments.
Before you touch a vial, measure the tray. A headspace autosampler tray is a kinematic system: it locates on dowels or pins, and it is held down by screws or a latch. If the tray is not fully seated, every vial in it is displaced by the same amount in the same direction, and the gripper will fail on the same position or the same row every time.
The measurement that finds this is not subtle. Put a 0.05 mm dial indicator on the tray surface at the four corners and the centre, with the tray loaded. You are looking for two things: absolute height variation across the tray, and repeatability after a remove-and-replace cycle. A well-seated tray should repeat to within 0.1 mm at each corner. If a corner moves more than 0.3 mm between load cycles, the tray is not locating on its dowels, and the screws are doing the locating instead. That is a design failure waiting to happen, and it produces pickup errors that drift with each reload.
The second tray measurement is the one nobody does: the height of the tray surface above the instrument deck. On a CTC PAL or a Gerstel MPS, that dimension is set by the mounting hardware, and it is specified in the installation manual. On the Agilent 7697A headspace sampler, the tray is integral and the relevant dimension is the vial nest depth, which is fixed. But on any instrument with a removable tray, the deck-to-tray-surface height is a serviceable dimension, and if it drifts, the gripper’s vertical travel no longer matches the vial’s cap height. The gripper grabs air, or it grabs the cap and crushes it. Both produce pickup errors. Only one produces a visible defect.
What tray misalignment looks like on the error log
On a CTC PAL with the standard headspace tool, tray height faults typically surface as “Vial not found” or “Gripper closed on empty position”, and they cluster by position number in a way that maps to the tray geometry. If positions 1 through 6 fail and 7 through 12 pass, the tray is tilted front-to-back. If every other position fails, the tray is rotated slightly and the gripper is catching the edge of the nest. If the same single position fails every time regardless of which vial is in it, the nest itself is damaged or has debris in it.
On a Gerstel MPS, tray faults show up as “Error: Vial transfer failed” or a timeout during the PickUp step. The MPS logs the step name, which is useful: a failure at PickUp is a tray or gripper problem, a failure at Inject is a needle or septum problem, and a failure at Eject is usually a cap that has come loose and is jamming the nest.
On an Agilent 7697A, the tray is integral and rarely the cause, but the vial transport mechanism is. A 7697A that reports “Vial not detected” on a specific position is usually seeing a vial that is too short or too tall for the nest, or a cap that is not fully seated and has changed the effective height of the vial-plus-cap stack.
Gripper tolerance is measured in tenths of a millimetre, and it wears
The gripper on a headspace autosampler is a two-finger mechanism with a specified open and closed dimension. On a CTC PAL headspace tool, the gripper fingers close to a nominal 22.5 mm gap on a standard 20 mL vial, with a tolerance of about ±0.2 mm. That is the entire margin. A vial whose cap is not fully seated adds 0.5 to 1.5 mm to the effective diameter at the cap skirt, and the gripper either fails to close or closes on the cap and lifts the vial by the cap. The cap comes off mid-transfer. The vial drops. The run aborts.
Gripper wear is the second factor. The fingers are spring-loaded or pneumatically actuated, and the pivot points wear. After 50,000 to 80,000 pick-and-place cycles, the closed gap on a PAL gripper can drift by 0.3 to 0.5 mm, which is enough to start producing intermittent pickup errors on vials that are at the upper end of the dimensional tolerance. This is why a gripper problem looks like a vial problem: it only fails on the vials that are already marginal, which is a subset of the lot, which is why it is intermittent.
The measurement that finds gripper wear is a go/no-go check with a machined gauge pin at the nominal closed dimension plus the tolerance. If the gripper closes on a 22.7 mm pin, it is out of spec. If it closes on a 22.3 mm pin but not a 22.7 mm pin, it is at the edge and should be scheduled for service. Most labs never do this check. Most labs also replace grippers reactively, after a run failure, which is the expensive way.
Cap seating is the third leg, and it is the one you can control
Cap seating is where the operator has the most influence and where the biggest variance lives. A crimp cap that is not fully seated sits 0.8 to 1.5 mm high on the vial neck, and that height change is enough to move the cap skirt out of the gripper’s closed window. A screw cap that is cross-threaded sits even higher, and it also fails the leak test, which is a separate failure that shows up as a pressure fault rather than a pickup fault.
The seating check is a cap height gauge: a simple block with a slot cut to the specified cap-to-shoulder dimension. For a 20 mm crimp cap on a standard 20 mL headspace vial, the crimp dimension is set by the crimper, and the correct crimp is a crimped diameter of 20.0 to 20.2 mm measured across the crimp, with the cap skirt fully down against the vial shoulder. A crimp that measures 20.4 mm or more is under-crimped and will sit high. A crimp that measures 19.8 mm or less is over-crimped and may have cracked the septum or the glass neck.
For screw caps, the seating check is torque. A 20 mm screw cap on a headspace vial should be tightened to 1.0 to 1.2 N·m. Below 0.8 N·m, the cap is not seated and the vial will leak. Above 1.5 N·m, the septum deforms and the cap may back off during heating. A torque screwdriver with a 0.1 N·m resolution is the right tool, and it costs less than a single failed run on a validated method. The headspace vial itself is dimensionally stable; the closure is where the variance enters the stack.
The error codes each misalignment produces, by instrument
This is the part that saves the most time in the field. The error code tells you which of the four failure modes you are looking at, if you know how to read it. The table below maps the common codes to the physical cause, based on the instruments I have worked on most.
| Instrument | Error code / message | Most likely cause | First measurement |
|---|---|---|---|
| CTC PAL (headspace tool) | Vial not found at expected position | Tray height or tray rotation | Dial indicator at tray corners |
| CTC PAL | Gripper closed on empty position | Gripper wear or vial under-height | Go/no-go pin at 22.7 mm |
| CTC PAL | Vial dropped during transfer | Cap not seated, gripper lifting by cap | Cap height gauge |
| Gerstel MPS | Vial transfer failed (PickUp step) | Tray misalignment or gripper | Tray corner height, then gripper pin |
| Gerstel MPS | Vial transfer failed (Eject step) | Cap loose, jamming the nest | Cap torque check |
| Agilent 7697A | Vial not detected | Vial height out of spec, cap not seated | Vial height gauge, cap height gauge |
| Agilent 7697A | Pressure not reached | Cap leak (not a pickup fault) | Torque check, septum inspection |
| Thermo TriPlus RSH | Vial missing / position error | Tray height or nest debris | Tray corner height, nest inspection |
The pattern to internalise: position-specific failures are tray or nest problems; vial-specific failures are dimensional or cap problems; intermittent failures that follow the lot are gripper wear. That single rule resolves most pickup error calls before you open the instrument.
Two field cases where the measurement told the story
Case 1: the Monday-morning tray
The PAL tray that started this article had a shoulder screw backing out of its dowel. The symptom was position 7 failing on the first run after reload, every Monday, because the weekend shift reloaded the tray and the screw had enough time to walk out of its locating hole. The measurement that found it was a corner-height check with a dial indicator: the front right corner sat 1.8 mm high after reload and settled to 0.4 mm high after the first run, because the gripper’s downward force pushed the tray back onto the dowel. That is why it only failed on the first run. The fix was a new shoulder screw with a thread-locking insert and a 0.5 N·m torque specification added to the weekly PM checklist. The vial was never the problem. The vial was never going to be the problem.
Case 2: the lot that drifted 0.6 mm
A different lab had a lot of 20 mL headspace vials that started producing gripper pickup errors on a Gerstel MPS after the third case. The vials looked identical to the previous lot. The measurement that found it was a vial height check with a digital height gauge across 30 vials from each lot. The old lot measured 75.5 ± 0.1 mm. The new lot measured 75.5 ± 0.1 mm at the body, but the neck-to-shoulder dimension was 0.6 mm shorter, which meant the cap sat 0.6 mm lower on the neck, which meant the gripper’s closed fingers were contacting the cap skirt at a different point and occasionally slipping. The fix was a supplier change-control discussion (the mould had been reworked) and a neck-to-shoulder go/no-go gauge added to incoming inspection. The dimensional stack is what moves, not the nominal height. The GC vial world has the same problem, and the same fix.
A troubleshooting checklist that runs in order
When a headspace autosampler throws a pickup error, run these checks in this order. Each one takes minutes and eliminates one of the four failure modes. Do not skip ahead to the vial.
- Tray height and seating. Dial indicator at four corners plus centre, loaded. Repeatability after a remove-and-replace cycle should be within 0.1 mm. Corner variation above 0.3 mm is a tray fault.
- Nest inspection. Look into the failing nest with a torch. Debris, a cracked nest insert, or a bent nest finger will produce position-specific failures. Clean and re-check.
- Gripper go/no-go. Machined pin at the nominal closed dimension plus 0.2 mm. If the gripper closes on the oversize pin, it is out of spec and needs service.
- Cap height gauge. Every vial in the failing position. Crimp diameter 20.0 to 20.2 mm for a 20 mm crimp; torque 1.0 to 1.2 N·m for a 20 mm screw cap.
- Vial dimensional check. Height and neck-to-shoulder across 30 vials from the current lot, compared to the reference lot. A shift above 0.3 mm in neck-to-shoulder is a lot problem, not a gripper problem.
- Instrument reference check. The instrument manual’s installation dimensions for tray height and gripper travel. If the tray has been serviced and not re-datumed, this is where you find it.
If all six pass and the error persists, the fault is in the transport mechanism or the controller, not the vial. At that point you are into service territory, and the vial is exonerated.
The decision rule for buying and qualifying vials against pickup errors
Here is the rule I use. A headspace vial is qualified for autosampler pickup when three dimensions are controlled and documented: overall height, neck-to-shoulder, and cap seating height. The first two are on the vial drawing. The third is a function of the closure, and it is the one that most suppliers do not control tightly enough. Demand a cap height specification with a tolerance of ±0.2 mm or better, and demand that the supplier’s incoming inspection checks it on every lot. If they cannot, you will be doing that inspection yourself, and you will be doing it after the pickup errors start.
For the instrument side, add the tray height and gripper go/no-go checks to the PM schedule at every 20,000 cycles or quarterly, whichever comes first. A gripper that is 0.4 mm out of spec will pass a visual inspection and fail on the marginal vials. The pin gauge is the only check that catches it before the run does.
The vials themselves are the least likely cause and the most likely suspect. That is the whole problem. A pickup error is a misalignment between the vial and the gripper, and the gripper is the part that moves. Measure the tray first, the gripper second, the cap third, and the vial last. The vial will almost always be within spec. The thing holding it will not. For the wider consumables picture, the same dimensional discipline applies to the HPLC autosampler vial and to any reagent bottle that has to sit in a fixed nest, and the reference material from Agilent, Thermo Fisher, and Restek is worth keeping on the bench for the dimensional specifications. The EPA SW-846 methods do not specify autosampler dimensions, but they do require that the sample be transferred without loss, which is the same requirement in a different language.
The decision rule is this: when a headspace autosampler reports a pickup error or misalignment, the vial is the last component to inspect and the first to be replaced. Measure the tray height, the gripper gap, and the cap seating height before you open a new box of vials. If those three are within spec, the fault is in the instrument, and replacing vials will only hide it until the next marginal lot arrives. The pickup error is a fit problem. Treat it as one.
References & further reading
Related resources from our lab consumables network:
- Headspace Vial at headspacevialsupplier.com
- Gc Vial at gcvialfactory.com
- Reagent Bottle at reagentbottleforsale.com
- Hplc Autosampler Vial at hplcautosamplervials.com
External references and standards: