
I still remember the first time a customer called me at 6:40 on a Monday morning because their headspace results had gone sideways over the weekend. The instrument was fine. The method was fine. The problem was a batch of vials with a crimp finish that did not match the caps they had in stock. They had forced the caps on, the septa wrinkled, and every injection pulled a slightly different amount of vapor. That single mismatch cost them three days of reruns and a client audit. I have been obsessive about vial selection ever since.
This guide is what I wish I could have handed that customer. It covers the physical choices (glass, finish, volume, septum), the thermal and chemical limits that actually matter, the numbers you should put in a purchase spec, and the failure modes I have personally dealt with on the bench. If you buy or run headspace vials, this is the checklist.
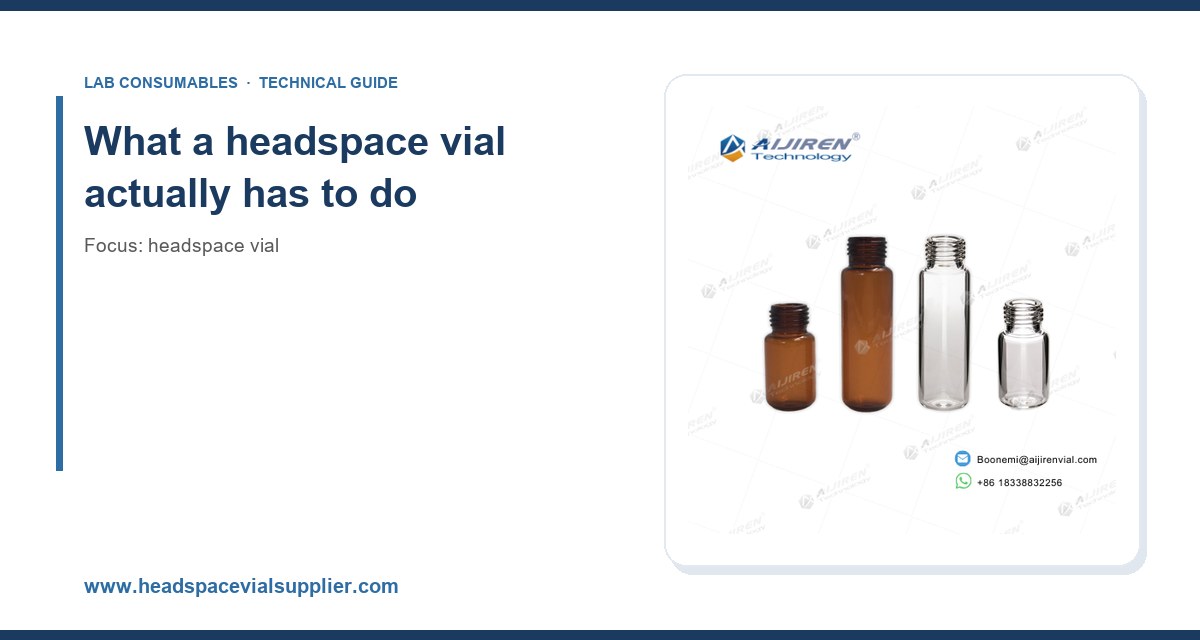
A headspace vial is not just a container. It is a pressure vessel, a thermal chamber, and a sampling interface, all at once. During a run, the vial is heated to a set temperature, the volatile analytes partition into the gas phase above the sample, and a needle or syringe withdraws a fixed volume of that gas. Every one of those steps depends on the vial behaving consistently.
Three physical properties matter more than anything else in the catalog:
- Seal integrity. The closure has to hold pressure from room temperature up to the oven setpoint (typically 40 to 200 °C) without leaking or venting unpredictably.
- Inertness. The glass and the septum must not adsorb, absorb, or react with the analytes. This is where low-bleed septa and proper glass chemistry earn their price.
- Dimensional consistency. Neck finish, body diameter, and height have to match the autosampler’s gripper, tray, and needle geometry within tight tolerances. A 0.3 mm variance in neck diameter can be the difference between a clean pick and a dropped vial.
If you get all three right, headspace GC is one of the most reliable techniques in the lab. Get any one wrong, and you will spend your week chasing ghosts. The starting point for any purchase is a clear spec, and a good reference for the baseline product is the headspace vial range we stock, which lists dimensions and finishes explicitly for exactly this reason.
Glass chemistry: type I borosilicate is the default, and here is why
Almost every headspace vial worth buying is made from type I borosilicate glass (often called USP type I or “neutral glass”). It has low alkali leaching, good thermal shock resistance, and it does not introduce sodium or other ions into the headspace. For trace analysis, this is the only sensible choice.
You will occasionally see type II (soda-lime, surface-treated) or type III (soda-lime) glass offered at lower cost. I would not use them for headspace. The reasons are concrete:
- Alkali leaching. Soda-lime glass releases sodium and other ions, particularly at the higher oven temperatures used for residual solvents (often 80 to 150 °C). That shifts pH in aqueous samples and can change partitioning.
- Thermal shock. Type I borosilicate handles the ramp from room temperature to 150 °C and back without cracking. Soda-lime is more prone to stress fractures, especially at the neck.
- Adsorption. Poorly annealed glass has more surface silanol groups, which adsorb polar analytes. You see it as low recovery and poor linearity at the low end of the calibration curve.
One more point on glass: look for annealed vials. Annealing relieves internal stress from forming the neck and base. Unannealed vials crack at the neck under crimp pressure or during heating. If a supplier cannot tell you whether the vials are annealed, that is a red flag.
Volume and geometry: pick the smallest vial that fits your sample
Headspace sensitivity depends on the phase ratio (the ratio of headspace volume to sample volume). Smaller vials with the same sample volume give a higher phase ratio, which usually means better sensitivity for volatile analytes. But you also need room for the sample, any internal standard, and a reasonable headspace volume for the needle to sample cleanly.
The common sizes and what I use them for:
- 6 mL (approximately 22.5 x 38 mm): small sample volumes, high-sensitivity work, and labs with limited autosampler tray space. Good for residual solvents in pharmaceuticals where sample mass is limited.
- 10 mL (approximately 22.5 x 46 mm): the workhorse size for most environmental and food headspace methods. Fits a 5 mL sample with a sensible headspace.
- 20 mL (approximately 22.5 x 75 mm): the classic size for EPA-style volatile organics and larger sample volumes. This is the most widely stocked size and the one most autosampler trays are designed around.
Match the vial to the autosampler, not the other way around. Check the manufacturer’s specified vial dimensions. A tray built for 22.5 mm body diameter will not reliably grip a 23 mm vial, and the gripper will jam. If you are also running liquid injections on the same bench, keep your GC vial dimensions separate from your headspace dimensions in your ordering system so nobody grabs the wrong box.
Neck finish: crimp versus screw thread
This is where most of the operational pain lives.
Crimp finish (typically 20 mm for headspace) gives the best seal consistency when done right. The aluminum crimp compresses the septum evenly against the glass lip. But “done right” requires a calibrated crimper. I have seen crimpers drift out of adjustment and produce vials that leak at 60 °C but hold at room temperature. The seal looks fine until it is heated.
Screw thread finishes (common sizes are 18 mm and 20 mm) are easier to use, need no crimper, and are resealable. The trade-off is that seal quality depends on the operator’s torque. Under-torque and you leak. Over-torque and you deform the septum or crack the neck. For screw caps, I specify a torque of 1.5 to 2.0 N·m for 18 mm caps and check it with a torque tester every shift. If your lab does a lot of short runs or method development, screw thread is the pragmatic choice. For high-throughput validated methods, crimp is still the reference standard.
Whatever finish you choose, standardize on it. Mixing crimp and screw vials on the same bench is how you end up with the Monday morning phone call I described at the top.
Septum selection: the part that quietly ruins your data
The septum is the most under-specified component in most labs and the most common source of problems. It has to seal against pressure, resist the oven temperature, resist the sample chemistry, and survive being punctured by the needle, sometimes more than once.
Here are the septum materials I actually use and the numbers behind them:
- Silicone (pure or with PTFE facing). The default for headspace. Excellent resealability, good temperature range (up to about 200 °C for short exposures, lower for continuous use). PTFE-faced silicone gives better chemical resistance on the sample side. Puncture life is typically 3 to 5 injections per septum before reseal quality drops.
- PTFE/silicone/PTFE sandwich. The PTFE layers protect the silicone from the sample and reduce bleed. Good for polar analytes and for methods where septum bleed shows up as ghost peaks. Slightly harder to pierce, so check your needle gauge.
- Butyl rubber. Good for aqueous samples and lower temperatures, but higher bleed and poorer resealability than silicone. I avoid it for trace work.
- Bimetal or specialty septa. Used for high-temperature or aggressive samples. Costly, but sometimes the only thing that holds a seal at 180 °C.
Two numbers to put in your spec: septum thickness (usually 3 mm for 20 mm crimp, 1.5 to 2 mm for 18 mm screw) and puncture count. If your method punctures the same vial more than once, either use a septum rated for it or accept that the second and third injections may not be comparable to the first.
Septum bleed is real. Silicone septa release low-molecular-weight siloxanes that show up as peaks in the m/z 73, 147, 207 series on GC-MS. If you see those in your blanks, your septa are the first thing to check, not your column.
Temperature ratings: read the fine print
Every vial and septum has a maximum temperature, and the number in the catalog is usually a short-exposure limit, not a continuous-use limit. For planning purposes:
- Standard type I borosilicate vials: continuous use to about 150 °C, short excursions to 200 °C. Above that, check with the supplier for a specific rating.
- Silicone septa: continuous use to about 180 °C, short excursions to 200 °C. Above that, bleed rises sharply.
- PTFE-faced septa: similar temperature range but better chemical resistance; the PTFE face protects the silicone.
If your method runs at 200 °C or above, you are in specialty territory. Talk to the supplier about the actual test data, not the catalog headline. I have seen septa described as “200 °C rated” that bled visibly at 170 °C.
The buying spec: what to put on the purchase order
Vague purchase orders get you whatever the distributor has on the shelf. Here is the spec sheet I use. Adapt the numbers to your method, but keep the structure.
Decision checklist with concrete parameters
- Glass: type I borosilicate, annealed, clear (amber only if your analytes are light-sensitive).
- Volume and dimensions: 20 mL, 22.5 x 75 mm body (or 10 mL 22.5 x 46 mm), matched to autosampler tray.
- Neck finish: 20 mm crimp or 18 mm screw, one standard for the whole lab.
- Septum: PTFE-faced silicone, 3 mm thick for 20 mm crimp, rated to at least 180 °C continuous.
- Caps: aluminum crimp with the correct skirt height, or screw caps with PTFE-lined septa.
- Crimp torque: set the crimper per the manufacturer’s gauge; verify with a seal test at your oven temperature.
- Screw torque: 1.5 to 2.0 N·m for 18 mm caps, checked with a torque tester.
- Puncture count: specify single-use unless your method and septum rating justify reuse.
- Certificate: request a certificate of analysis for glass chemistry and a dimensional report if the lot is large.
For reference, the standard neck-finish dimensions are defined in industry guidance and in supplier datasheets. The GPI (Glass Packaging Institute) finish standards and the relevant ISO dimensional references are the documents to cite if you need to justify a spec to a supplier or an auditor.
Comparison: crimp versus screw at a glance
- Seal consistency: crimp wins, if the crimper is calibrated. Screw depends on operator torque.
- Ease of use: screw wins. No crimper, resealable, fewer dropped vials.
- Throughput: crimp is faster once the crimper is set up. Screw is faster for small batches.
- Cost per vial: crimp vials and caps are usually cheaper per unit; screw caps cost more but are reusable in some workflows.
- Best for: crimp for validated high-throughput methods; screw for method development, small labs, and multi-user benches.
Operational precautions that save runs
Selection is half the job. The other half is how you handle the vials on the bench. These are the practices that have saved me the most reruns.
Before the run
- Condition new vials. Rinse with the same solvent as your sample, then dry. New glass can carry manufacturing residues that show up in the first blank.
- Check the crimper. Crimp a test vial, then heat it to your oven setpoint with a little water inside. If it leaks, the crimper is off. Do this weekly, not once a year.
- Verify septum seating. A septum that is not centered will wrinkle under crimp pressure and leak. Look at the crimp skirt: it should be even all the way around.
- Match vial to tray. Confirm the body diameter and height against the autosampler’s gripper spec before loading a full tray.
During and after the run
- Do not reuse septa across methods. A septum punctured at 80 °C is not the same septum at 150 °C.
- Watch the blanks. Run a vial of pure water or your matrix blank every batch. Septum bleed and glass contamination show up there first.
- Log the lot numbers. When results drift, the first question is “did we change vial lot?” If you cannot answer it, you are guessing.
- Store vials and caps sealed. Silicone septa adsorb volatiles from the air. A box left open near a solvent cabinet will show it in your blanks.
Troubleshooting checklist
When headspace results go wrong, work through this list in order. In my experience, most problems are in the first four items.
- Leaks at temperature. Check crimper calibration or screw torque. Re-test a sealed vial at the oven setpoint.
- Ghost peaks in blanks. Septum bleed. Swap to PTFE-faced septa, or check septum temperature rating against your method.
- Poor reproducibility (RSD above about 5% on replicate injections). Check seal consistency first, then vial dimensions against the autosampler spec, then the needle.
- Low recovery of polar analytes. Glass adsorption. Confirm type I borosilicate and check for annealing. Consider silanized vials for very polar compounds.
- Cracked necks. Over-crimping or unannealed glass. Reduce crimp pressure and ask the supplier about annealing.
- Needle jams. Vial height or body diameter out of spec, or a septum that is too thick. Check dimensions against the autosampler datasheet.
- Carryover between vials. Septum reseal failure. Reduce puncture count per septum and check the needle wash.
For method-level troubleshooting, the instrument vendors publish detailed guidance. Agilent’s chromatography consumables and columns documentation covers headspace hardware and vial compatibility, and Thermo Fisher’s chromatography and sample handling resources are useful for autosampler geometry. For environmental methods, the U.S. EPA SW-846 test methods define the vial and sample-handling requirements for volatile organics. Restek’s technical resources are a good source for septum bleed data and phase-ratio guidance.
Where headspace vials fit in the wider lab supply chain
Headspace vials rarely live alone. A typical bench also runs liquid injections, prepares reagents, and stores standards. Keeping the consumables consistent across those workflows saves a surprising amount of time. I standardize on the same glass chemistry and the same supplier for the HPLC autosampler vial line and the headspace line, so the certificates and dimensional tolerances are comparable. For reagent and standard storage, a good reagent bottle with a compatible closure keeps the standards clean between runs. The point is not brand loyalty. It is that mixing glass types and closure systems across a lab is how you get contamination you cannot trace.
What I recommend, in one paragraph
For most labs running headspace GC, buy 20 mL type I borosilicate vials, 22.5 x 75 mm, 20 mm crimp finish, with PTFE-faced silicone septa rated to at least 180 °C continuous, and calibrate your crimper weekly. If your lab does method development or runs small batches, use 18 mm screw-thread vials with a torque spec of 1.5 to 2.0 N·m and a torque tester at the bench. Standardize on one finish, one septum, and one supplier, and put the dimensions and temperature ratings on the purchase order. That single discipline eliminates most of the headspace problems I have seen in fifteen years on the bench.
The vial is the cheapest component in the workflow and the one most likely to ruin a run. Treat it like a critical consumable, not a commodity. Specify it, verify it, and log it, and your headspace method will do what the validation says it should.
References & further reading
Related resources from our lab consumables network:
- Headspace Vial at headspacevialsupplier.com
- Gc Vial at gcvialfactory.com
- Reagent Bottle at reagentbottleforsale.com
- Hplc Autosampler Vial at hplcautosamplervials.com
External references and standards: