
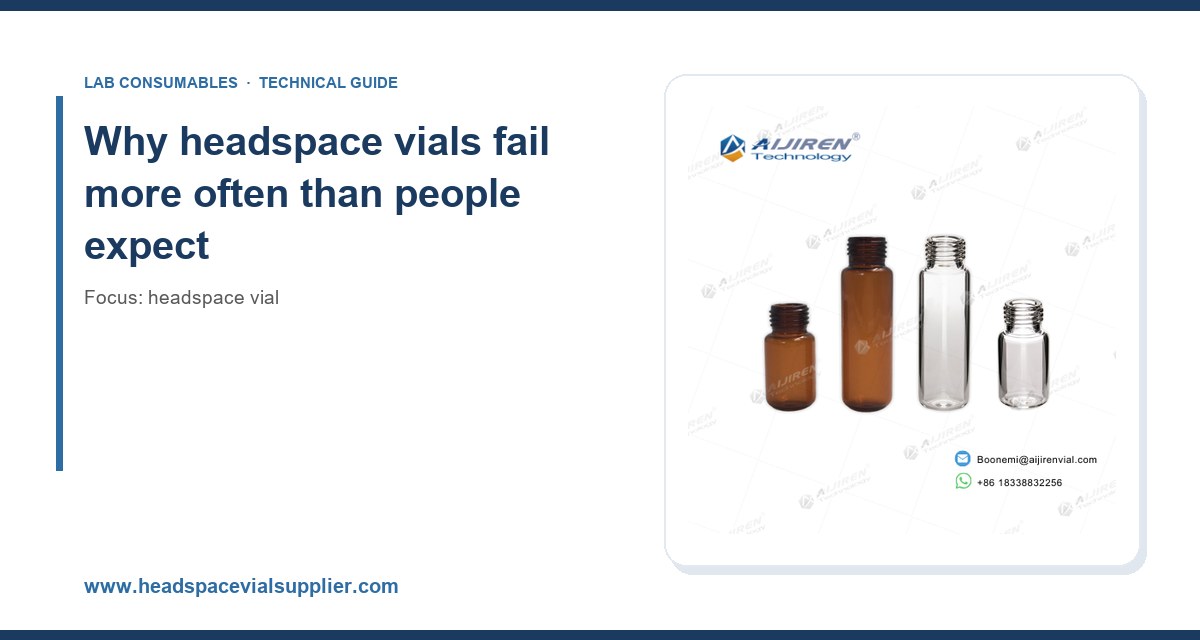
I have watched a headspace autosampler run a 96-position tray and fail on position 43 for no obvious reason more times than I care to count. The chromatogram looks clean, then a phantom peak shows up, or the internal standard response drops 15%, or the vial simply does not pressurize. In almost every case the root cause is not the GC, not the method, and not the column. It is the vial, the septum, the crimp, or the way the sample was handled before it ever reached the tray. This article is the troubleshooting playbook I wish someone had handed me in my first year of running a headspace lab.
A headspace vial has three jobs: hold the sample, contain the vapor at a defined temperature and pressure, and let a fixed volume of that vapor leave at the right moment without contaminating the needle or the inlet. That is a lot of responsibility for a 20 mL glass cylinder that costs about 30 cents. The failure modes are predictable, and once you know what to look for, you can fix most of them without touching the instrument.
I break failures into four categories: seal integrity (leaks and diffusion), volatile loss or gain (adsorption, carryover, contamination), mechanical damage (cracks, chipped necks, needle coring), and thermal effects (pressure buildup, septum deformation, glass stress). Each has distinct root causes and distinct countermeasures. If you are sourcing new vials, the headspace vial specification sheet should tell you which failure modes the design is intended to control.
Failure 1: septum leaks and diffusion loss
What it looks like
Low response, poor reproducibility (RSD above 5% on replicate injections), or a slow drift downward across a long tray run. You may also see a peak for ambient air components creeping up if the leak is inward.
Root causes
- Wrong septum material for the temperature. Standard silicone/PTFE septa are rated to about 200 °C. Above that, silicone softens and the PTFE face can deform. Butyl rubber is worse for high-temperature work. For methods running at 250 °C or above (common in residual solvent testing per USP <467>), you need a PTFE-faced silicone with a higher-rated backing or a molded septum designed for that range.
- Septum too thin for the pressure. A 3 mm thick septum on a vial pressurized to 15 psi at 90 °C will deflect. Once it deflects, the needle punch is off-center and the seal fails on the second or third injection.
- Crimp force inconsistent. Manual crimpers are the single biggest source of headspace vial leaks I have seen. A properly crimped 20 mm aluminum seal should compress the septum to a consistent flange diameter. I measure with a go/no-go gauge and reject anything outside ±0.2 mm.
- Septum reused after one puncture. The needle hole stays open. Never re-inject a punctured headspace vial. The number of punctures a septum will tolerate depends on needle gauge: a 23-gauge needle will typically allow 2 to 3 clean punctures on a quality silicone/PTFE septum before leakage exceeds 1%, but I treat one puncture as the limit for quantitative work.
Prevention
Use a calibrated electronic crimper, not a hand tool. Verify crimp with a torque or diameter gauge at the start of every shift. Match septum to the maximum method temperature with at least a 20 °C margin. And buy septa from a supplier who will give you a lot-specific certificate with the compression set and puncture resistance.
Failure 2: needle coring and septa particles in the inlet
What it looks like
Ghost peaks that appear at random retention times, a noisy baseline, or visible silicone fragments on the inlet liner. I once traced a persistent siloxane peak at m/z 73 to septum coring after a batch of low-quality septa went into service.
Root causes
- Blunt or burred needle. A needle that has been used past its rated life will tear rather than pierce. Replace headspace syringes according to the manufacturer’s cycle count, typically every 500 to 1000 injections depending on septum hardness.
- Septum with a thin PTFE face. Cheap septa have a PTFE film under 0.1 mm thick. The needle punches through and the silicone underneath cores. A quality septum has a PTFE face of at least 0.2 mm and a silicone layer that is fully bonded.
- Off-center needle alignment. If the autosampler needle is not centered on the vial, it will strike the aluminum seal edge and shave metal into the septum. Check alignment every time you change a tray or a needle.
Prevention
Buy septa with a bonded PTFE face, not a laminated one. Keep a log of needle injections and replace on schedule. Verify autosampler alignment with a dedicated alignment tool, not by eye. The same discipline applies to any HPLC autosampler vial, where needle coring shows up as a rising baseline and lost peak area.
Failure 3: cracked or chipped vial necks
What it looks like
Vials that fail to seal, or that leak during heating. Sometimes you will not see the crack until you look under a magnifier. A chipped neck will not hold a crimp seal, and the autosampler may not even pick up the vial if the neck is deformed.
Root causes
- Thermal shock. Moving a hot vial from the oven directly into a cold autosampler tray, or the reverse, stresses the glass. Borosilicate 3.3 glass handles this better than soda-lime, but no glass likes a 100 °C step change.
- Over-crimping. Too much crimp force cracks the neck. A 20 mm crimp should be set to a specific crimper setting, and that setting should be validated with a torque wrench. I target 1.5 to 2.0 N·m on a calibrated crimper for 20 mm aluminum seals.
- Poorly annealed glass. Low-cost vials from suppliers who skip the annealing step will have residual stress and will crack unpredictably. Ask for the glass to meet ISO 4802 hydrolytic resistance and confirm the annealing record.
Prevention
Use borosilicate 3.3 glass, not soda-lime, for any method above 80 °C. Allow vials to equilibrate in the autosampler tray before heating. Calibrate the crimper. Inspect a sample of every lot under a 10× loupe for neck chips before use.
Failure 4: sample loss from adsorption and carryover
What it looks like
Response for low-boiling analytes drops over the course of a run, or a high-concentration sample leaves a ghost peak in the next blank. Carryover above 0.1% of the preceding peak area is a problem for trace work.
Root causes
- Active glass surface. New glass has silanol groups that adsorb polar analytes. This is the same problem that plagues GC vial users who do not silanize. For headspace work with polar compounds (alcohols, amines, carboxylic acids), use deactivated or silanized vials, or add a small amount of a polar solvent to the sample.
- Insufficient purge time. The transfer line and needle need enough purge to clear the previous sample. Under-purged lines carry over. Increase purge time to at least 30 seconds for high-boiling analytes.
- Contaminated septa. A septum that has absorbed volatiles from a previous run will release them into the next vial. This is why single-use septa are non-negotiable.
Prevention
Use deactivated vials for polar analytes. Run a blank after every high-concentration sample. Replace septa every run. And keep a reagent bottle of the same solvent you use for sample prep so that blanks are truly representative of the matrix.
Failure 5: pressure buildup and septum blowout at high temperature
What it looks like
The septum bulges or blows out during heating, or the vial leaks audibly. In severe cases the aluminum seal lifts. This is a pressure problem, not a septum problem, and it gets worse as temperature rises.
Root causes
- Headspace volume too small. If the vial is overfilled, the liquid expands with heat and the headspace pressure can exceed the septum rating. A 20 mL vial should contain no more than 10 mL of liquid, and ideally 5 to 8 mL, to leave enough headspace for thermal expansion.
- Septum not rated for the pressure. Standard septa are rated for about 15 psi at the rated temperature. If your method runs at 120 °C with a 10 mL fill, you can exceed that. Use a higher-pressure-rated septum or reduce the fill volume.
- Improper crimp. An under-crimped seal will leak before the septum fails, but an over-crimped seal can crack the neck and cause a sudden failure.
Prevention
Follow the vial manufacturer’s fill volume recommendation. For 20 mL vials, keep liquid volume at or below 10 mL and target 5 to 8 mL for methods above 100 °C. Use a septum rated for the maximum pressure and temperature of your method. Verify crimp integrity with a pressure test on a sample of vials from each lot.
Failure 6: contamination from the vial itself
What it looks like
Blank runs show peaks that should not be there. Common culprits are plasticizers (phthalates at m/z 149), siloxanes, and residual solvents from the manufacturing process.
Root causes
- Residual manufacturing residues. Low-cost vials may carry mold release agents or cleaning residues. A proper headspace vial should be certified for low bleed and, for trace work, pre-cleaned and baked.
- Improper storage. Vials stored in a warehouse near solvents or in plastic bags will adsorb volatiles. Store in the original sealed carton, away from solvent cabinets.
- Contaminated caps. Aluminum seals with a plastic liner can off-gas. Use plain aluminum seals with a PTFE-faced septum, not plastic-lined caps.
Prevention
Buy certified low-bleed vials for trace analysis. Run a method blank with every batch. Store vials sealed and away from solvents. If you are doing EPA SW-846 methods, follow the SW-846 test methods guidance on blank correction and contamination control.
Failure 7: autosampler handling errors
What it looks like
Vials that are not picked up, are dropped, or are crushed by the gripper. This is often blamed on the vial, but it is usually a tray or gripper problem.
Root causes
- Vial height out of tolerance. A 20 mL headspace vial should be 75.5 mm ± 0.5 mm tall with a 22.5 mm body diameter. Out-of-spec vials will not seat properly in the tray.
- Warped tray. A tray that has been dropped or exposed to heat will not hold vials at the correct height. Check tray flatness with a straightedge.
- Gripper force set too high. Some autosamplers have adjustable gripper force. Too high a setting will crush thin-walled vials. Set it per the manufacturer’s specification and verify with a test run.
Prevention
Buy vials that meet the dimensional tolerance in the specification. Inspect trays quarterly. Set gripper force per the instrument manual and do not adjust it without a test run.
Failure 8: septa that degrade in storage
What it looks like
Septa that worked fine six months ago now leak. The silicone has hardened or the PTFE face has separated.
Root causes
- Age and storage conditions. Silicone has a shelf life. Store septa in a sealed bag away from heat and UV. Most manufacturers rate shelf life at 2 years from date of manufacture.
- Improper handling. Touching the PTFE face with bare hands deposits oils that affect sealing. Handle septa with clean gloves or forceps.
Prevention
Rotate stock, use oldest first, and check the date code on every box. Store in a cool, dark place. Handle with gloves.
Decision checklist: choosing the right vial and septum for your method
Use this checklist before you place an order. The numbers are the ones I use in my own lab.
- Vial volume: 20 mL for standard methods; 10 mL for small sample volumes; 22 mL for methods needing more headspace.
- Glass type: Borosilicate 3.3 for methods above 80 °C; soda-lime only for ambient or low-temperature work.
- Glass certification: ISO 4802 hydrolytic resistance, USP <660> for pharmaceutical work.
- Septum material: PTFE-faced silicone for general use; higher-temperature rated septum for methods above 200 °C.
- Septum thickness: At least 3 mm for standard crimp; thicker for high-pressure methods.
- PTFE face thickness: At least 0.2 mm to resist coring.
- Crimp seal: 20 mm aluminum, plain (no plastic liner), crimped to 1.5 to 2.0 N·m.
- Fill volume: 5 to 8 mL for 20 mL vials above 100 °C; never more than 10 mL.
- Puncture limit: One puncture per septum for quantitative work.
- Dimensional tolerance: 75.5 mm ± 0.5 mm height, 22.5 mm body diameter.
- Thread standard: 18 mm screw thread per GPI 18-400 if using screw-top vials; 20 mm crimp per GPI 20-400.
- Low-bleed certification: Required for trace analysis and EPA SW-846 methods.
Troubleshooting checklist for a failing headspace run
When a run fails, work through this list in order. I have never had to go past step 6 without finding the problem.
- Check the chromatogram. Is the failure random or systematic? Random failures point to vials and septa; systematic failures point to method or instrument.
- Run a blank. If the blank shows peaks, the problem is contamination, not the sample.
- Inspect the vial. Look for cracks, chips, or a lifted seal. Check crimp diameter with a gauge.
- Inspect the septum. Look for coring, bulging, or discoloration. Replace and re-run.
- Check the needle. Is it bent, burred, or off-center? Replace and re-run.
- Check the temperature and pressure. Is the method within the vial and septum ratings? Reduce fill volume or temperature if not.
- Check the autosampler. Is the tray flat? Is the gripper force correct? Is the needle alignment correct?
- Check the lot. If the failure started with a new box of vials or septa, quarantine the lot and test a retained sample from the previous lot.
What I recommend in practice
Buy borosilicate 3.3 headspace vials certified to ISO 4802 and USP <660>, with a dimensional tolerance of ±0.5 mm on height and 22.5 mm body diameter. Use PTFE-faced silicone septa with a face thickness of at least 0.2 mm, rated for the maximum method temperature plus a 20 °C margin. Crimp with a calibrated electronic crimper set to 1.5 to 2.0 N·m and verify with a go/no-go gauge at the start of every shift. Replace septa every run and needles every 500 to 1000 injections. Keep fill volume at 5 to 8 mL for 20 mL vials above 100 °C. Store vials and septa sealed, away from solvents, and rotate stock. Run a method blank with every batch.
For method development and instrument-specific guidance, the technical resources at Agilent, Thermo Fisher, and Restek are worth bookmarking. They publish the pressure and temperature ratings that most suppliers leave off the box.
Most headspace failures are not mysterious. They come down to four things: the wrong septum for the temperature, an inconsistent crimp, a vial that does not meet dimensional tolerance, and a sample that was handled badly before it reached the tray. Fix those four and the phantom peaks, the drifting response, and the random failures on position 43 go away. The vial is the cheapest component in the system and the one that determines whether the run is valid. Treat it that way.
References & further reading
Related resources from our lab consumables network:
- Headspace Vial at headspacevialsupplier.com
- Gc Vial at gcvialfactory.com
- Reagent Bottle at reagentbottleforsale.com
- Hplc Autosampler Vial at hplcautosamplervials.com
External references and standards: